This recipe makes about 35 eclairs. For my audience, that means about two each, and everyone would have been more than glad to have more. Next time, maybe I will, because this recipe leaves you with 12 egg whites, which is only enough for one angel food cake. We really need two cakes to properly go around. Needless to say, this is a recipe I tend to make most often in when the spring chickens are putting out a dozen eggs a day. It’s all too easy to a get a gross of eggs sitting in the refrigerator if one doesn’t take drastic action such as this.
Pastry dough:
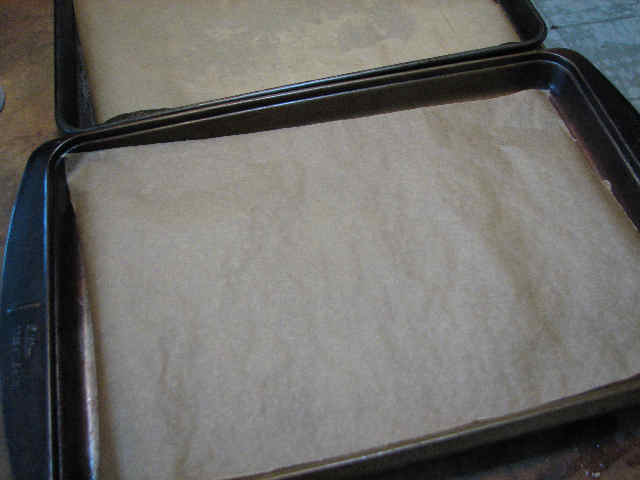
Line baking pans with parchment paper, and preheat oven to 425.
Ingredients:
2 cups water
2 sticks butter
1 tsp. salt
1 TB. sugar
2 cups flour
6 to 8 eggs
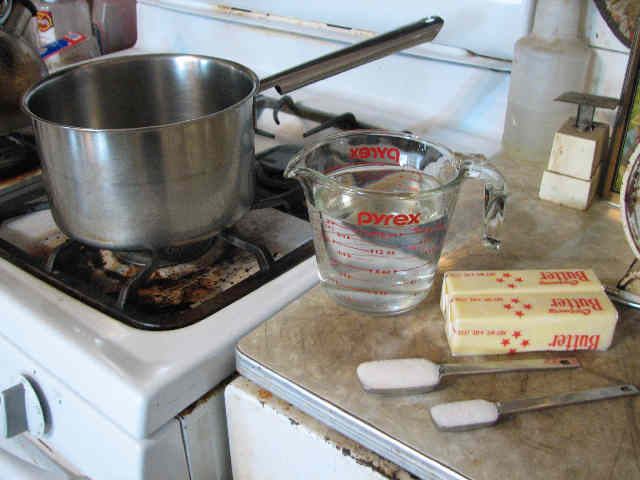
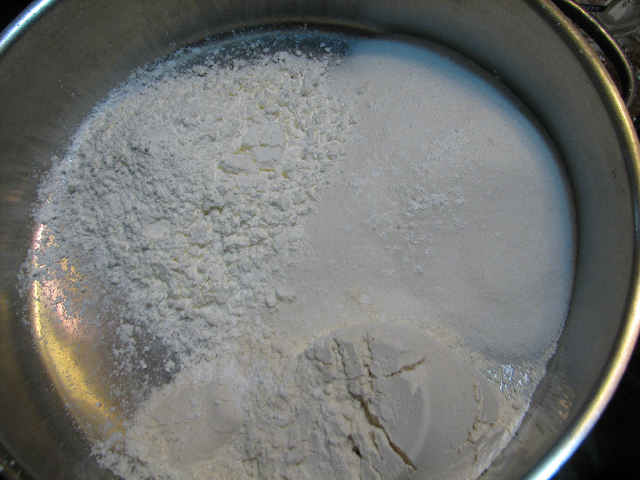
Bring the water, butter, salt and sugar to a rolling boil.
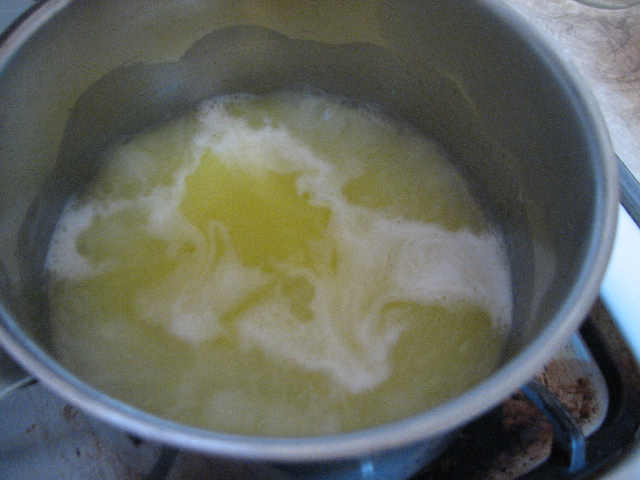
When it comes to a boil, turn off the heat, and dump in the flour all at once.
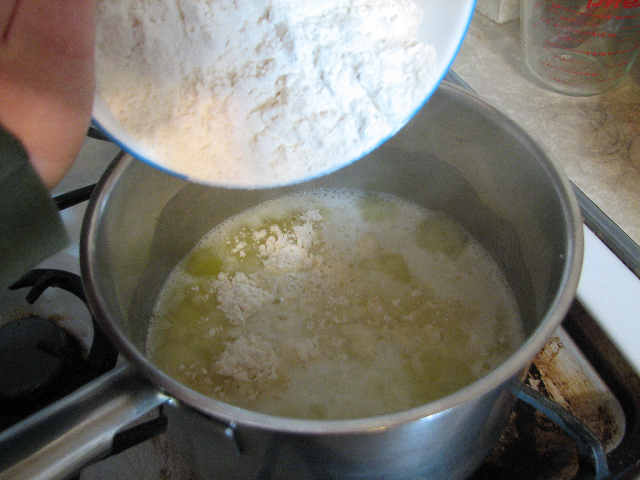
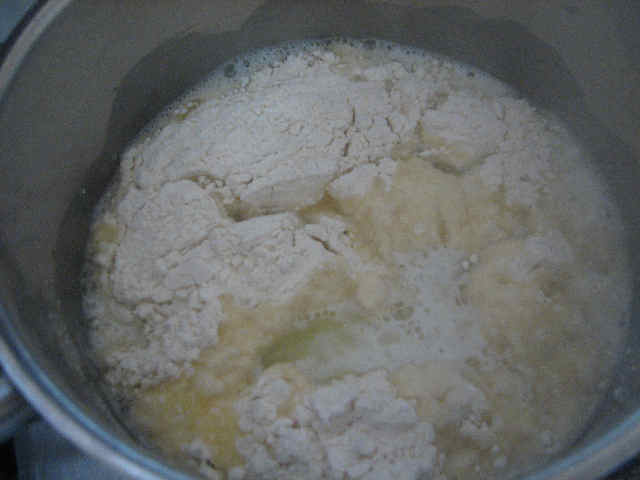
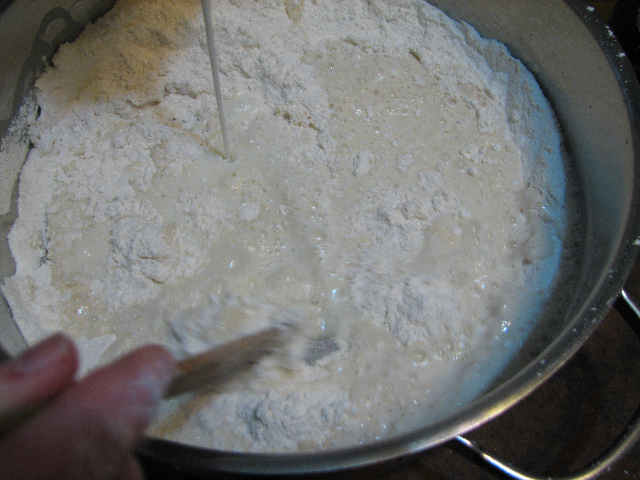
Stir hard for 30-60 seconds. At this point, it will sort of look like a stiff paper mache paste.
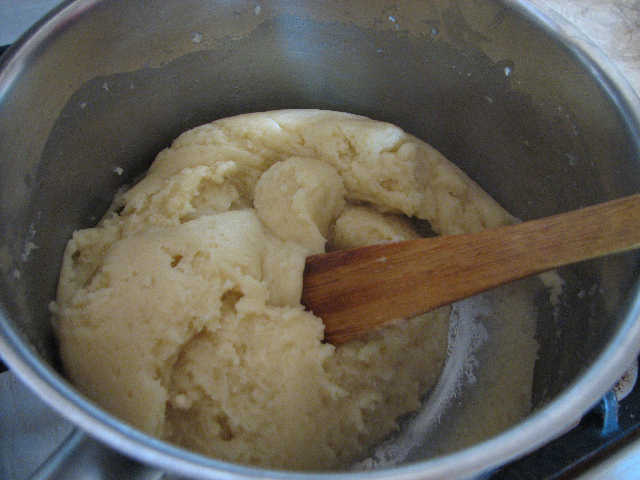
Return to heat, and cook, still stirring hard, for another 30 or so seconds. After this point, the original recipe recommends switching to a stand mixer with a paddle, or using a hand mixer. I continued to use my wooden stirring paddle, but it did give me a bit of a work out. It is very stiff, and kind of glossy. Start adding the eggs, one by one.
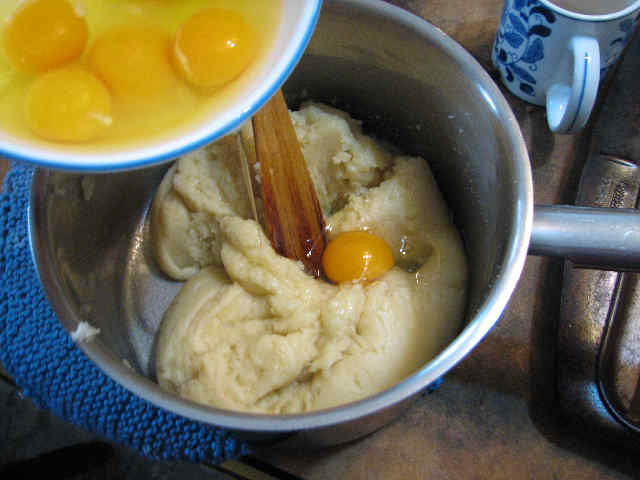
At first the mixture will separate and slip and slide; then it will join together and seem just as stiff as ever.
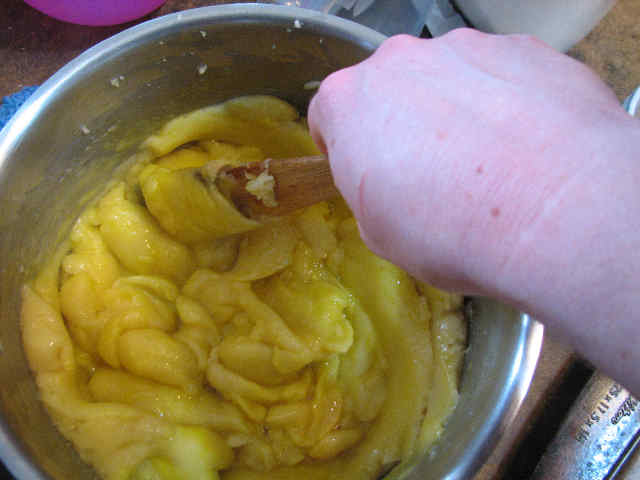
The original recipe said the mixture should be soft enough to slip off the paddle (I needed to use 7 or 8 eggs to get it that way), but I found I actually had an easier time forming the eclairs after the mixture had cooled to the point it was too stiff to slide off the paddle. You may want to stop at 6 eggs if you’re new to using a pastry bag.

Alas, I couldn’t take pictures and pipe the eclairs at the same time, and I didn’t have anyone taking pictures at the time. So some of these following photos are part of a mock-up. Here’s a quick crash course in pastry bags.
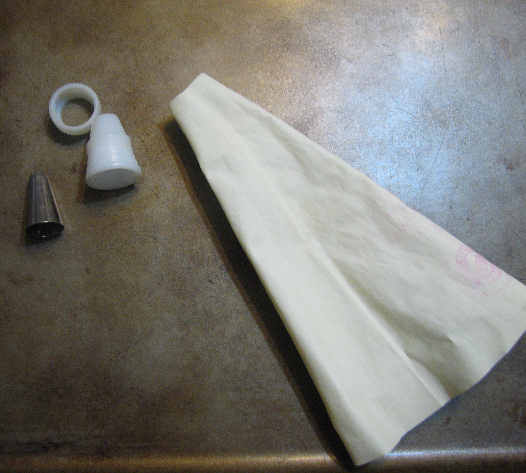
These are the components: pastry bag, the parts to the coupler, and a decorative tip. (The pastry bag shown is a small decorator bag. Sometimes I use that, and sometimes I use disposable pastry bags.)
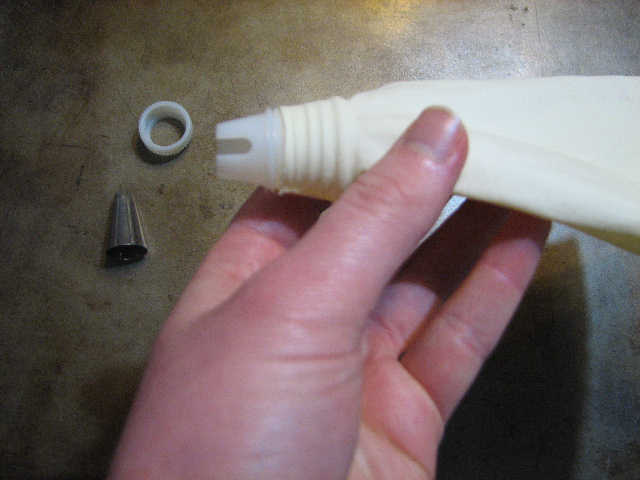
When I pipe the eclairs, I use my coupler with out any tip in it. This makes it easier to get an eclair the size I want it. I keep the notch in the coupler facing towards the baking sheet, to keep the eclairs more uniform. If you do use a tip, you rest the metal tip over the coupler, and then fasten it on with the coupler ring.
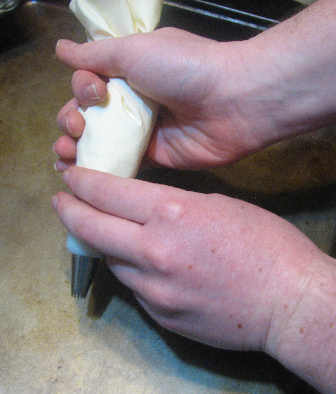
Fold back a cuff before you load the bag; it keeps the mess down, and the bag is easier to handle if it’s not slippery.
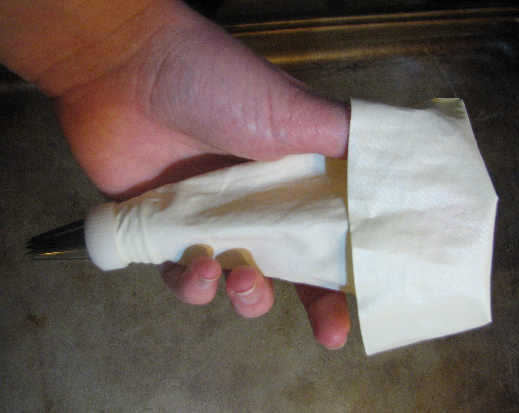
Also, folding down that cuff keeps you from loading the bag too high. That means you still have enough bag left to twist the end shut. If you don’t firmly twist the end shut then when you squeeze the bag it will backfire—major mess and no filling coming out the little tip like it’s supposed to.
The twist is held shut with the thumb and pointer; the rest of the fingers control the pressure on the bag.
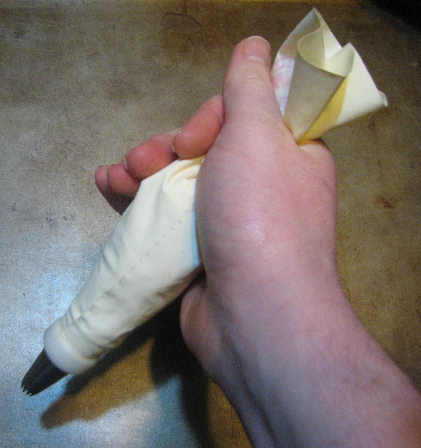
The other hand guides the tip.
As you use up the filling, you will need to squeeze the last bits down, {the mess is do mostly to impatience; more on that in the assembly instructions}
and re-twist the bag.
As for making the eclairs, you can really make them any shape or size you want. But they do puff up considerably in the oven. A general rule of thumb is that if you pipe out the filling the size of a hot-dog, you will wind up with an eclair the size of a hog-dog roll. You’ll need to move slowly and squeeze firmly.
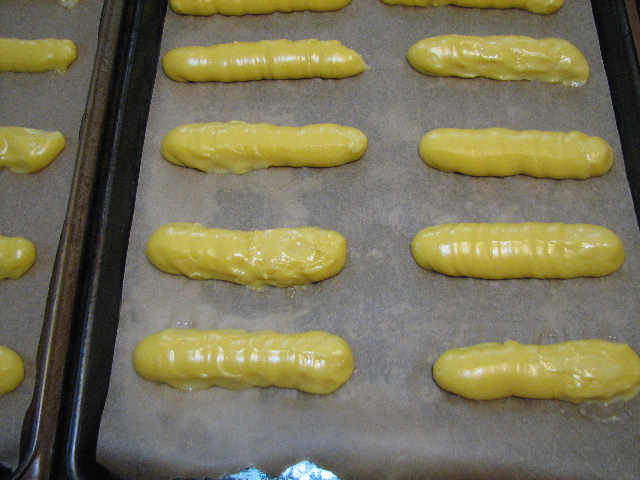
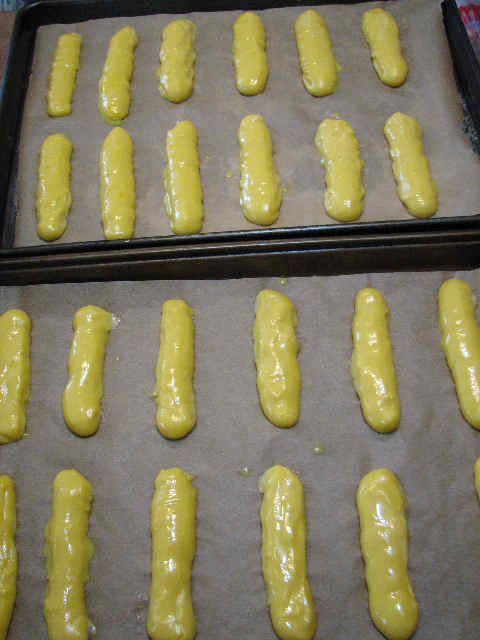
Piped eclairs.
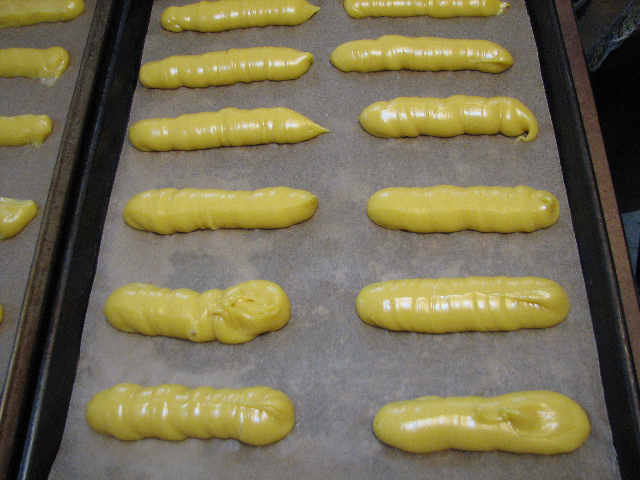
(I needed to use 3 pans, but it’s unwise to use more than 2 pans at a time in the oven. I piped the last pan after the first two came out, reusing the parchment. At that point, the dough was stiffer and easier to pipe. If you only used 6 eggs, you may find it too stiff to do it this way, and you may want to pipe all the eclairs at one time). At this point, you will probably have at least 6 people ask you why you are piping the filling before you bake the shells. Even if they asked you the same question last time you made them.
If your eclairs have funny lumps and bulges (mine? never!) they can be easily smoothed out with a wet finger. Don’t fret too much about it, though, because the puffing they do in the oven covers a multitude of sins.
Next use a pastry brush to brush all the piped elcairs with an egg mixed with 1/2 TB water. This give the elcairs a nice gloss, but doesn’t do much else. So it’s okay to forget or deliberately omit this step.
Bake in the pre-heated oven for 15 minutes, then reduce the heat to 375 for about another 25 minutes. When you reduce the heat, you should rotate the pans, top to bottom and left to right, but other than that, keep the oven closed. Steam is what makes the eclairs puff, and if you keep opening and closing the oven, you’ll wind up with flat eclairs.
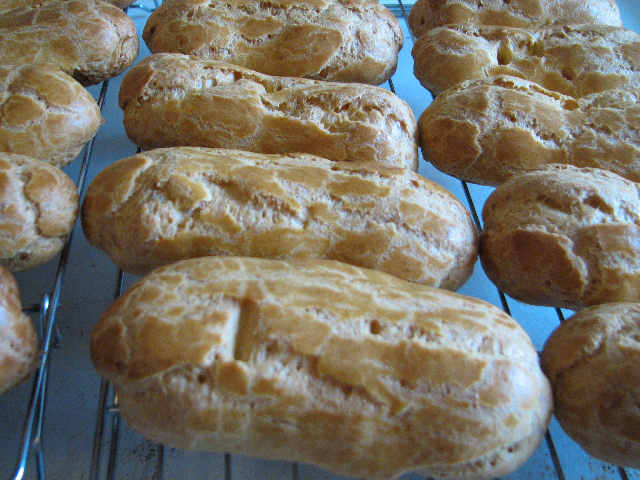
They should be a light golden brown when they’re finished. If you under-cook them, they’ll look great when you first take them out, but as they cool, they’ll deflate. They’ll be a little squishy or mushy, too, but you can make them work. If you over bake them, the can get a little burnt on the bottom. (And if you don’t rotate the pans, you’ll get one burnt pan and one mushy pan.) I’ve done both, and my advice is to err on the side of over baking. All the cream and chocolate pretty well drowns out a little over-browning on the bottom, but squishy, flat, eclairs are less appetizing (but still quite edible). This is a pretty good representation of their color when their done.

These shells came out perfect. . .
. . . but since no cooking session is complete without a minor disaster, I messed up a bit on the filling. Learn from my mistakes, and make the filling the day before—filling the eclairs is much less than pleasant if your filling isn’t 100% chilled. If you made the shells early in the morning, and got right on the filling, you can still do it all in one day. If you do like what I did—namely, get distracted reading Howl’s Moving Castle until 11:30 am, and not even get started on the filling till mid-afternoon—well, you’ll be filling eclairs at 8 pm with filling that’s not properly set, and a horde of hungry barbarians standing over your shoulder.
Filling:
6 cups milk
2 vanilla beans or else vanilla extract.
1 1/2 cups sugar
1 cup + 2 TB flour
3/4 cup cornstarch
12 egg yolks
6 TB butter
This is an adapted filling recipe; the original didn’t call for any type of vanilla. Usually I just use real vanilla extract in my baking, but since The Cheese Trap had some in that week, I decided to try real beans for once. (It was a $4 for 2 beans, much less expensive than Wegman’s was carrying them for. The Cheese Trap is sort of a general store/co-op sort of place. I know they buy their stuff from co-ops, and then re-package to sell.) Since the recipe doesn’t originally call for vanilla of any type, I don’t know how much extract to recommend. I tried using only one vanilla bean, and found it had too mild of a flavor for me, so I wound up using two.
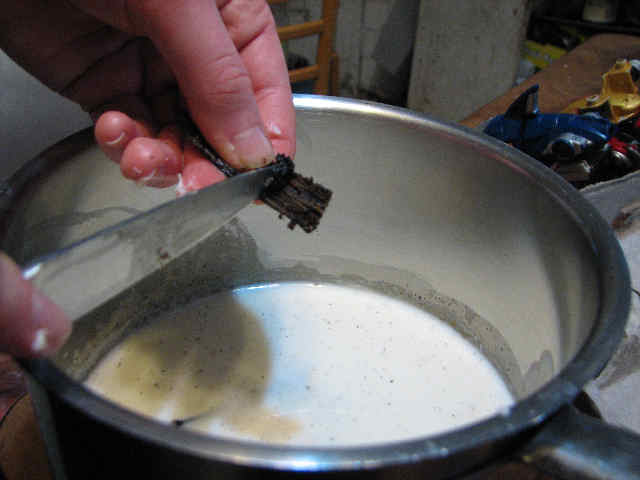
I cut the beans into thirds, and let them steep in 1 cup warm milk until the beans were soft. (Bring the milk and beans to a boil, then turn off heat and let sit 15 minutes.) Then I scraped out the seeds, and let the whole thing steep longer. It’s supposed to be enough to just steep them in warm milk, but if I used beans again, I would make the custard the day before, and leave the beans sitting in the custard till I needed it. They’re easy to pick out, and will keep giving off flavor as long as they’re sitting it.
[Note on vanilla flavors: I cannot stand fake vanilla extract–it tastes so very fake to me, like some “vanilla-scented” toy I used to have as a kid, not like anything actually meant for eating. What I found interesting is that the vanilla beans smell more like fake vanilla extract than real vanilla extract. As far as taste, the beans seem to straddle the difference between fake and real vanilla extract. Real extract tastes more “brown”, deeper and more of a dried taste (as a prune is more dried and concentrated than a plumb). However, the fake vanilla extract is too fake–too sweet, too sickly, and too overpowering. The real vanilla bean still carries some of the fruitiness the fake extract imitates, but is more mellow and full flavored than the fake extract. I still recommend real vanilla extract over fake vanilla extract, but if you want a real vanilla flavor, the beans are best. However, most people probably won’t even notice a difference unless you grill them.]
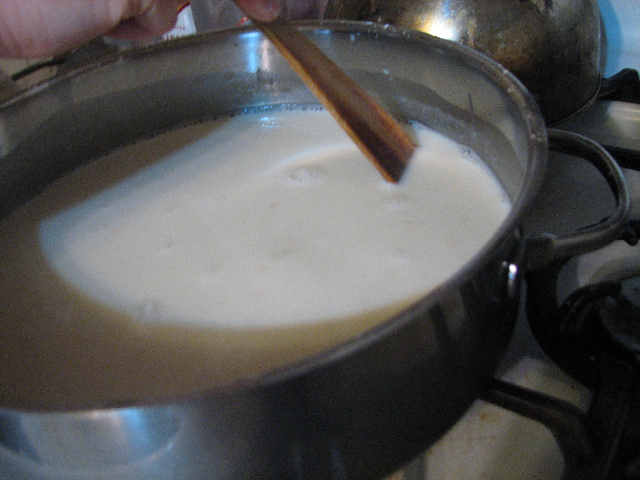
Put sugar, flour, and cornstarch in your pan, and whisk it together.
Whisk in your remaining 5 cups of milk until there are no lumps.
Cook over medium heat, stirring constantly, until thick and no longer has a raw, starchy taste (which can take up to 30 minutes).
If you cook it on high heat, it will thicken up too quickly and on the bottom first. That will leave with clumps of thick filling on the bottom, and loose, soupy filling on the top. This can usually be remedied with lower heat and vigorous whisking, but it’s best to just avoid it in the first place and cook it on a lower heat. This was a time I had the heat on too high (I forgot my front burner was hotter than typical), so I found the filling thickened before the starchy taste was gone. I continued to cook it, over low-heat, till it didn’t taste so raw. I whisked in my remaining cup of milk/vanilla beans at this point, because I didn’t want to keep the vanilla beans that hot for so long; I’m thinking the flavor might not be that sturdy.
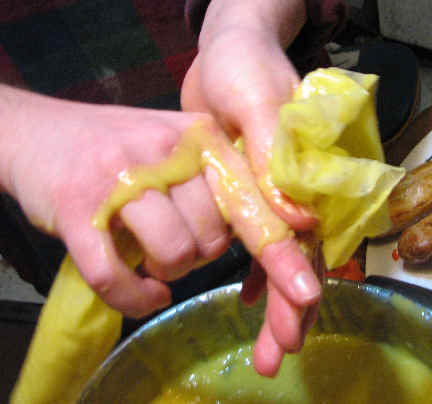
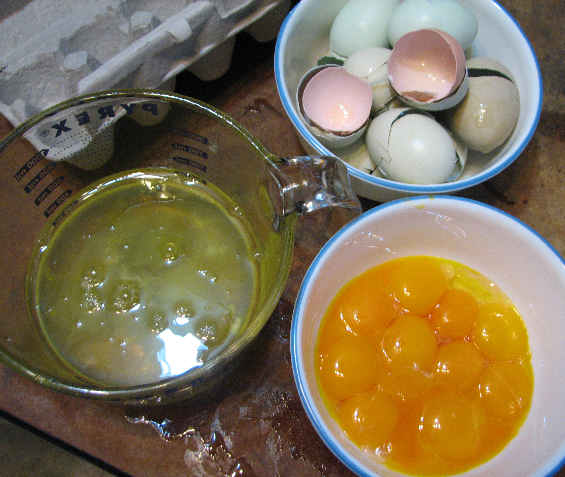
Next you need to add the egg yolks. This whole beautiful dozen of eggs needs to be separated,
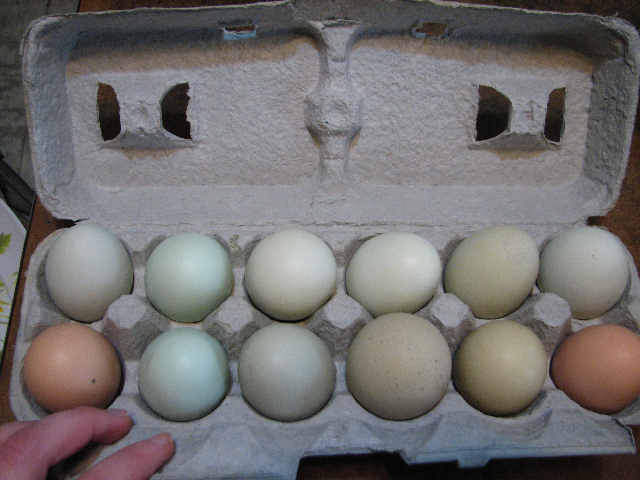
like this.
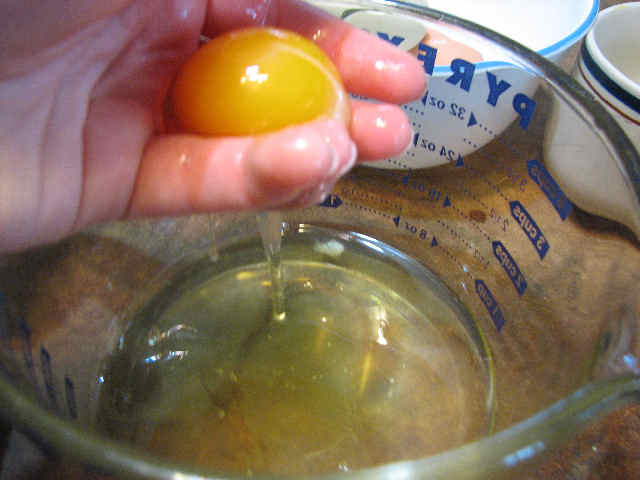
Some people use the shells, some people use fancy gadgets, but I’ve found hands work the best. First crack your egg into a small tea-cup, so if the yolk decides to split open on you, you can just set that contrary egg aside and try again. Then dump the whole egg into your hand, and let the white slip through your fingers. You’ll be left with nothing but a slimy yolk in your hand, which you then dump in your yolk bowl. You’ll have so many egg whites left over you can make an angel food cake, if you’re dutiful.
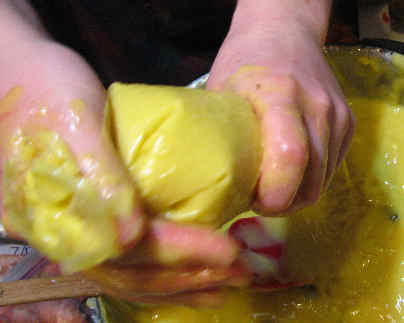
The eggs need to be tempered before you add them to the hot milk mixture, otherwise you get scrambled yolks in milk, not a thick, rich custard. The yolks can’t be dumped in cold, they must be warmed up before adding them to hot milk. This is accomplished by spooning some of the hot filling into the yolks, and stirring well.
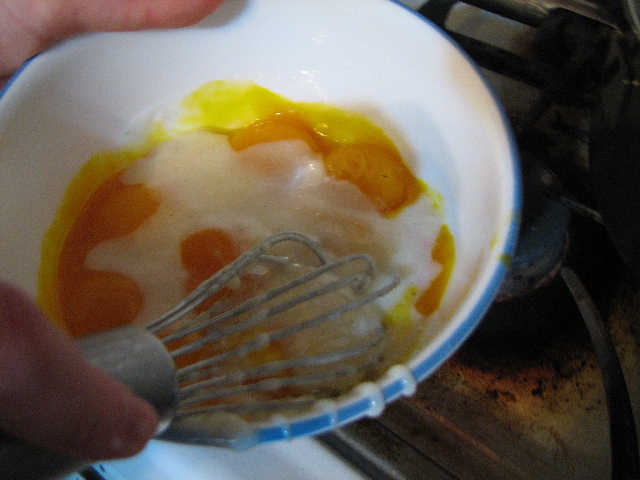
I do that several times, until the bowl begins to feel warm in my hands. Then rapidly whisk the yolk mixture into the milk mixture.
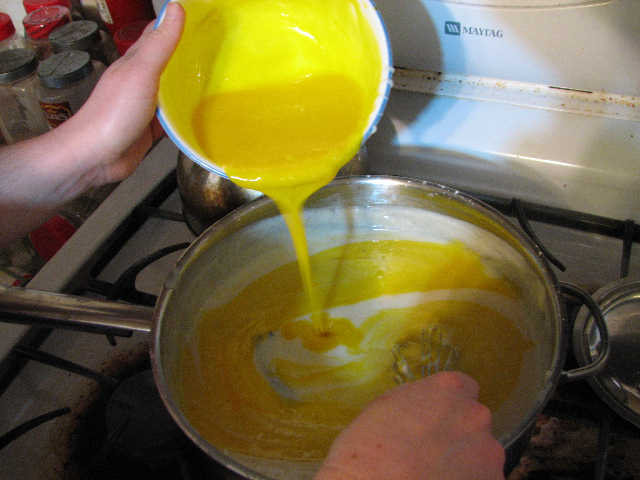
Add the butter in, too, and keep stirring till it’s melted in.
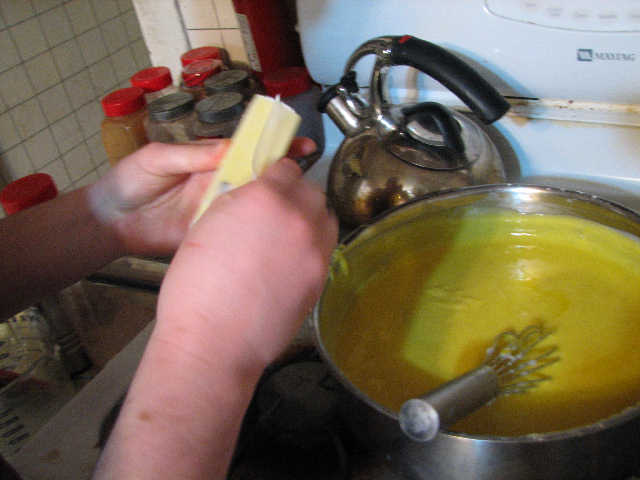
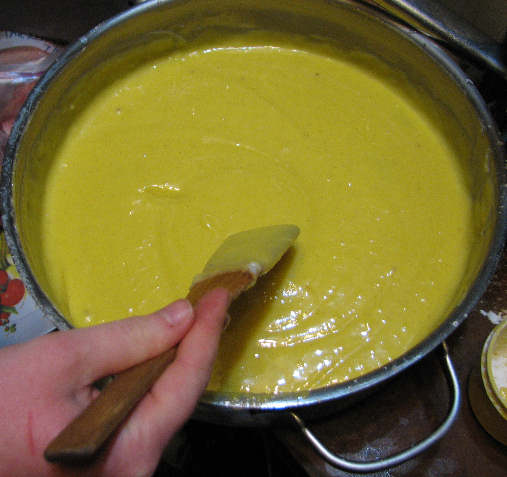
The finished custard:
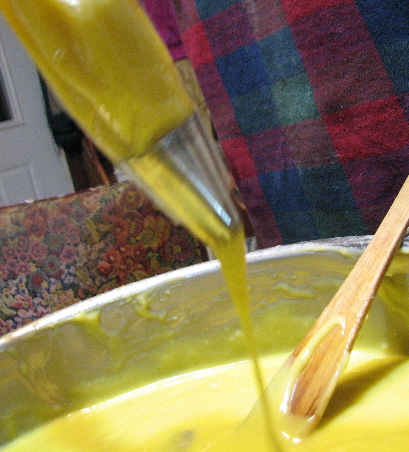
Glaze:
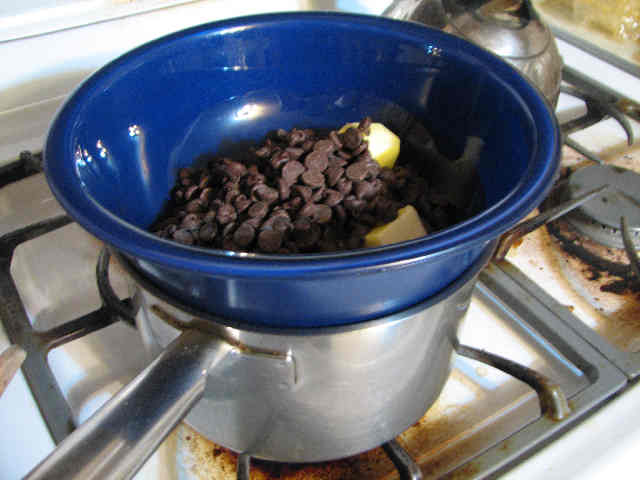
I set up pan with water in the bottom and a glass bowl on top to make my own double boiler. The water underneath the pan should be simmering.
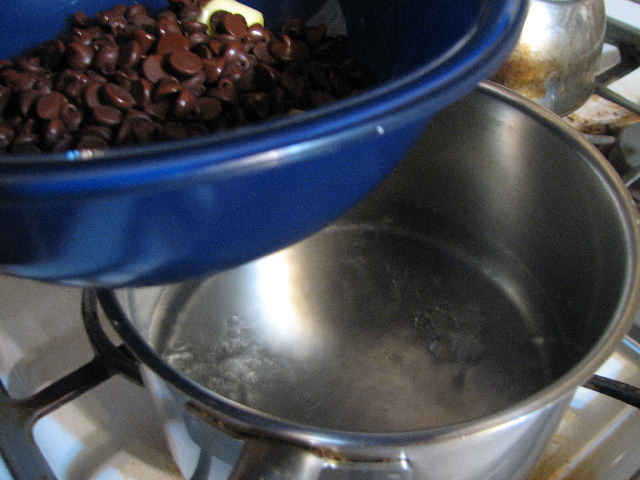
Then I just melt chocolate as needed, in a ratio of 1/2 cup chocolate chips to 2 TB butter. I think I used about 2 cups of chocolate chips and a stick of butter, but I can’t remember.
It should melt until totally smooth, with no lumps.

Assembly:
Set-up your pastry bag with a large tip (star or round, it doesn’t matter), and load it with completely chilled filling. Here I’m using a disposable pastry bag.

If it isn’t cold enough, it will slip right through your tip without any pressure, leading to a filling where you want it and where you don’t—in other words, all over the place.
(I left the soupy-filled eclairs on the below-freezing porch while I filled the rest, and also kept my soup custard on the porch between refilling my pastry bag. The colder the custard got, the easier it was to manage, and by the time I finished all filling all the eclairs, the soupy-filled ones had firmed up nicely.)
The steam has made the eclairs mostly hollow (you can break one open to see, or just take my word for it) but they can still have a few walls on the inside. I make two or three holes on the top (just break the holes with your finger), and stick the tip of the pastry bag into the holes. If there is no walls on the inside, you can usually see the filling squirting back up through the other two holes. If you don’t see that happen, you’ll need to fill each hole individually.

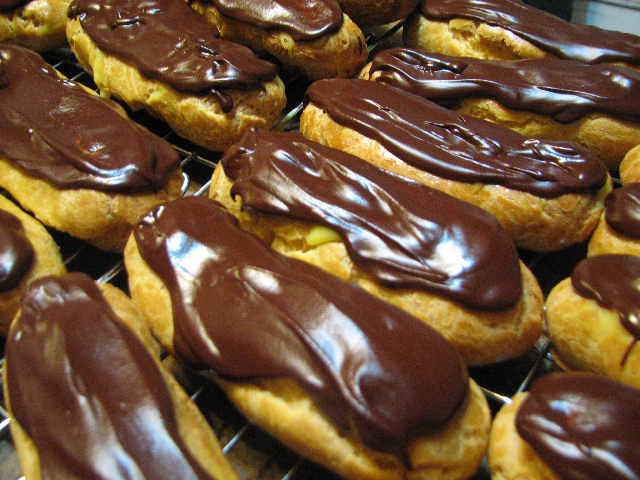
These holes get covered with a nice thick layer of glaze.
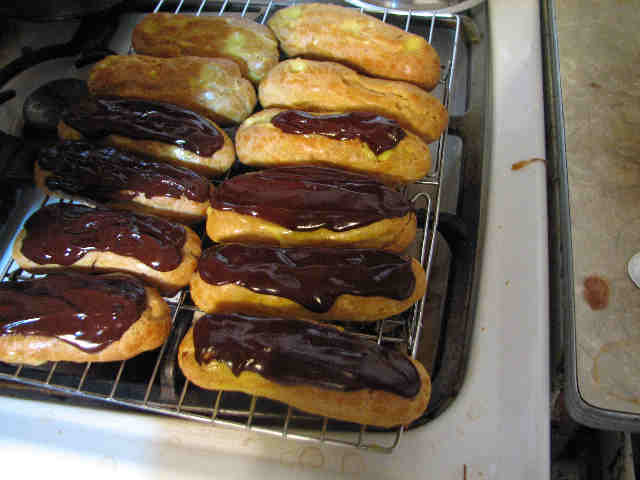
Endless eclairs. Your hours of work will be downed in a few short moments. Yum.
Posted in Uncategorized | 2 Comments »
February 10th, 2007 at 8:18 am
Your double boiler looks suspiciously like mine…
I haven’t made eclairs since high school and the thought of making as many as you do makes my hands seize up!
I love the step-by-step pictures. I need a photographer to stand by my shoulder and do the same (like paparazzi, only useful).
They look scrumptious.
February 17th, 2007 at 8:17 am
I don’t recall any hand fatigue. It actually goes pretty fast, if you’re not taking step by step pictures.
I usually take most of the pictures myself, but there were some that I just couldn’t swing. Any picture where you can see both my hands, for example. . .and a 7 year-old took most of the rest.
The longest part is getting all of the photos reduced for the web, up-loaded, and inserted into the post. That takes longer than making eclairs of any amount!