Here we are, back to our regularly scheduled program: food. Mostly dessert. Not because I mostly make dessert (much to the great disappointment of the horde), but because it takes a looooooonnnnng time to take all those pictures. The barbarians generally know that they are lucky to be getting dessert at any time, so they’ll take it when they can get it. But they believe they are entitled to regular meals. “Regular” and “take lots of pictures” is pretty hard to get going at the same time.
This is a recipe we originally found in a, believe it or not, Consumer’s Reports magazine, and they’re they one’s who named it “Practically Perfect Chocolate Chip Cookies”. I’m usually against calling recipes “the best” or “the perfect”, because usually everyone has different ideas on what things are supposed to be like. But in this case, I would have dropped the “practically”. In my very completely and totally humble opinion, the ingredients are at a perfect balance. But I do admit that a large part of getting them truly perfect is baking them to the exact right point. You don’t want them under or over cooked by even a few minutes. But if you learn what a perfectly cooked chocolate chip cookie looks like, and you watch them like a bunch of vultures over road-kill, this recipe makes a perfect chocolate chip cookie—A cookie that is crispy and crunchy on the edges, and soft and chewy in the middle. A cookie that’s so tempting, my mouth kept watering as I tried to sort through the over 100 pictures I had taken.
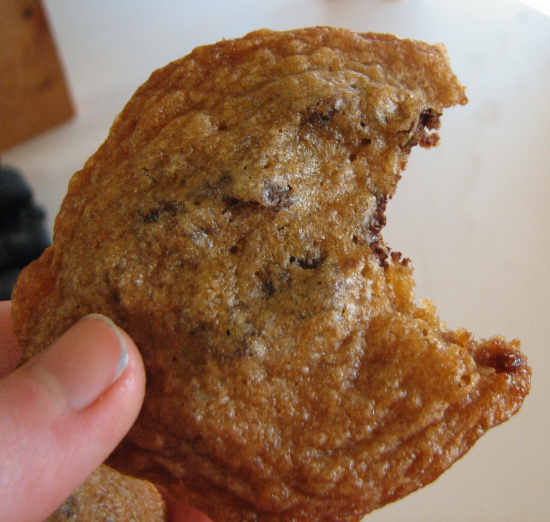
A cookie that’s so good, it’s almost bad. Almost. But not quite. How can anything that leaves the brown paper looking like this be bad for you?

How can anything that uses this much butter be bad for you??

A cookie that’s so good, I think everyone should have some before they die. I told that to the Martlet, and he said “You think so, huh?”
“Well, I don’t think they need to be eating them on their death bed or anything, but everyone ought to know what a real chocolate chip cookie tastes like.”
“You think so, huh?” He clearly thinks this is a bad idea. I pause and reflect for a moment.
“You think it’s a bad idea to let anyone else have any, don’t you?”
“Well, yeah, this whole sharing idea sounds like something a girl would come up with!”
The ultimate incredulity. But rather obvious, really. Of course I am a girl—Why else would I go and make 200 chocolate chip cookies for absolutely no reason at all? That’s how many cookies this recipe makes, by the way.
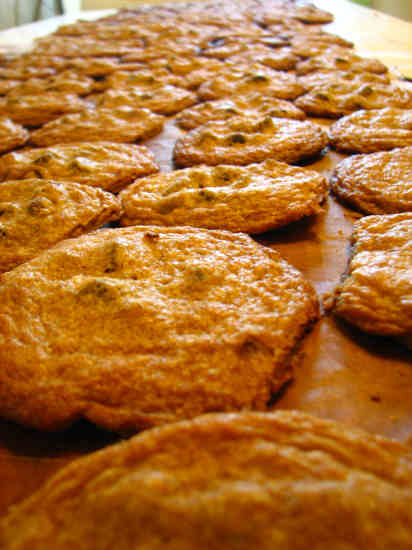
It’s enough to keep your entire office party eating cookies for days, or enough for a houseful of barbarians to devour in a scant 24 hours and still complain you didn’t make enough. Though, after the first seven cookies, even barbarians concede a glass of milk is called for.
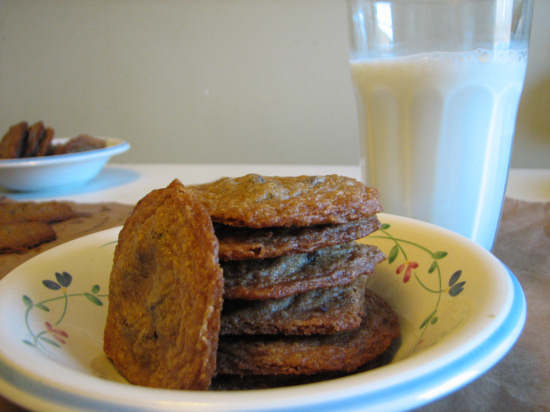
You will need:
6 3/4 cups flour
1 tbl. baking soda
1 tbl. salt
2 1/4 cups white granulated sugar
2 14 cups dark brown sugar
3 cups (6 sticks) butter, softened
1 tbl. vanilla
6 eggs, at room temperature
3 12 oz. packages chocolate chips (or, if you buy them in bulk like we do, 36 oz, that is 2 1/4 lbs.)
Get out your butter and eggs to warm up. I usually still have to microwave soften the butter. Maybe the house isn’t warm enough; maybe I’m just impatient. Maybe I usually forget to take it out.
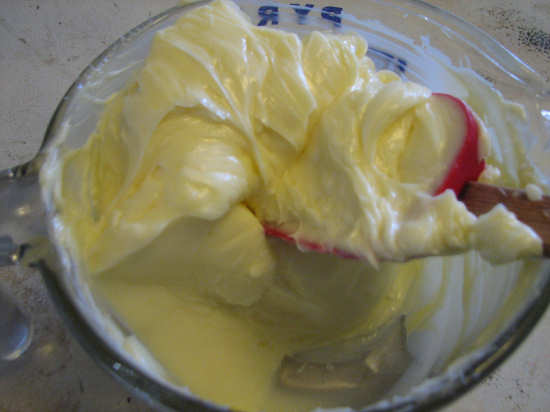
I’m not 100% certain why the eggs are supposed to be at room temperature. I think it’s because eggs beat better when they’re not cold. But in a pinch I have (1) put the uncracked eggs in a bowl of warm water to warm them up, or (2) used cold eggs. (Shocking. Horrifying. And all that.)

Next all the dry ingredients need to be mixed together. Remember to measure the baking soda into your hand, and push all the lumps out with your fingers.

Mix the flour, soda and salt in a bowl. Set aside.

Preheat the oven to 375, and pack your brown sugar.

Measure your white sugar.
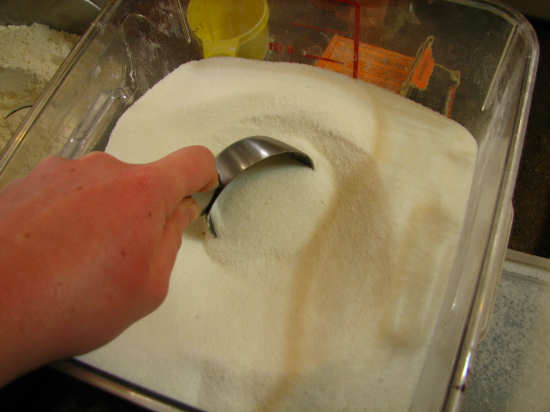
Dump both sugars in to the super-duper huge mixer. Trust me, nothing short of a super-duper huge mixer can handle this much batter. If you don’t have a super-duper huge mixer, you’ll need to at least halve this recipe. The batter won’t fit in a smaller stand-mixer bowl, and if you try to use a hand mixer on it, you’ll kill your mixer and, even worse, you’ll over-beat the mixture.
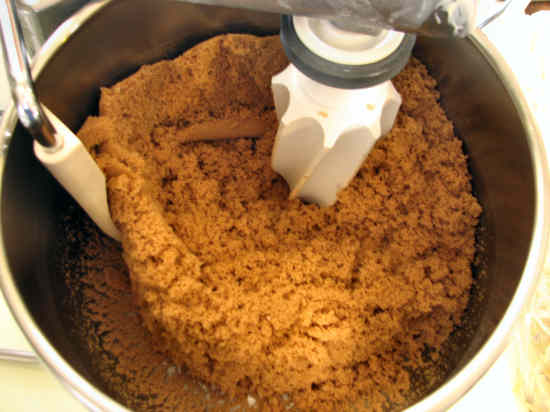
Then you add in all your butter,
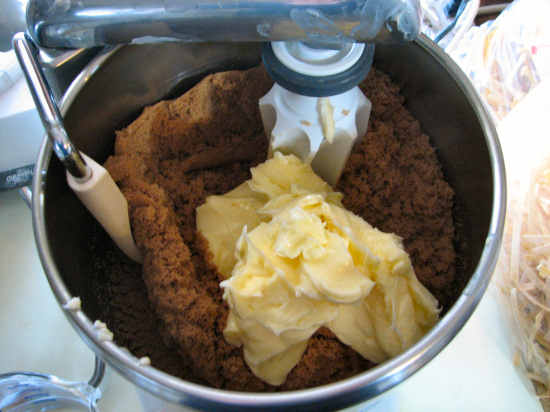
and beat the mix till it’s pale, light, and very fluffy.

Add the vanilla and mix that in.
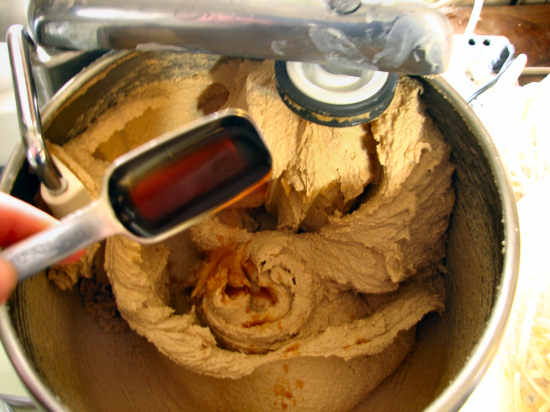
Add the eggs, one at a time, and mix them in. Basically, you beat this whole mix as much as you want (it just whips in more air) until you add the flour. Once you add the flour, you want to be very delicate, because the more you beat it, the more you will develop the gluten in the flour, the tougher your cookies will be.

After you add in the all the eggs, the batter will still be very light and creamy.
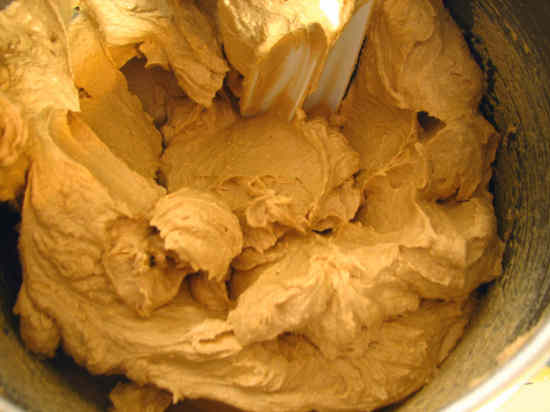
Then you add in the dry ingredients, about a half a cup at a time. Make sure you’re mixing at a slow speed.
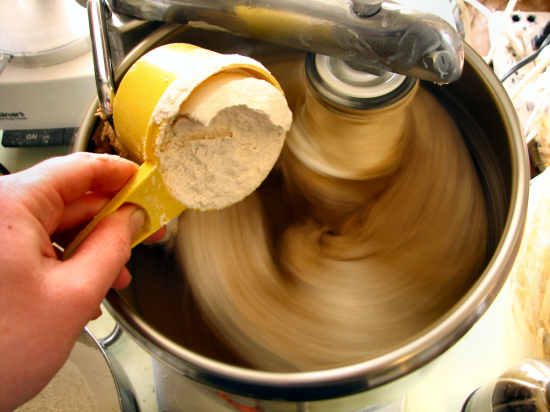
This is what the batter looks like at this point:
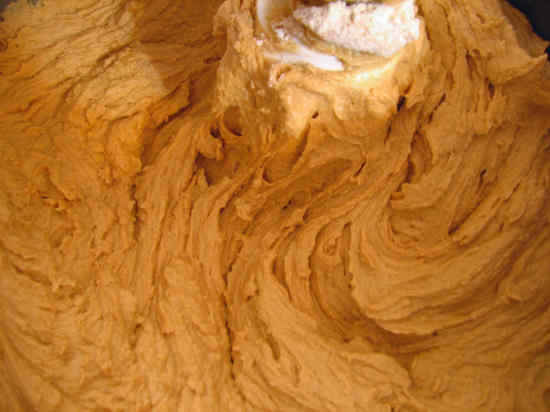
Then the best part: the chocolate chips!
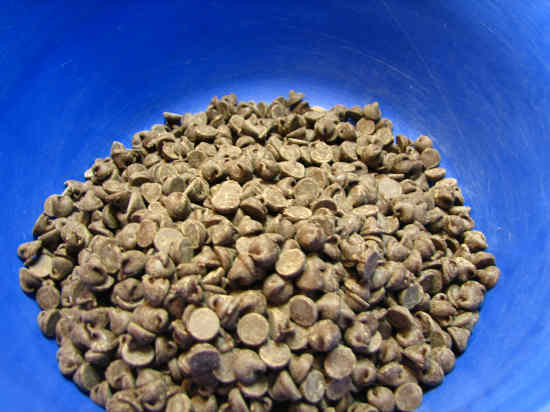
We buy them in bulk, so I have to weigh them out.

Mix them in, but just barely. You don’t want to overwork the batter at this point. Careful, careful!

Okay, now it’s time to make cookies. Which scoop is better to use?

The bigger one? No, you foolish barbarian. A bigger scoop does not magically multiply the batter; it’s still going to be the same amount. And if you use the bigger scoop, the edges of the cookie will start over-baking before the center is finished. So use the smaller scoop for a larger number of perfect cookies, rather than the larger scoop for a smaller number of huge-but-not-perfect cookies. In case you’re wondering, the bigger scoop is supposed to be a meatball scoop. The smaller scoop is supposed to be a cookie scoop. Trust me, they knew what they were doing when they made it that size.
Uncookies waiting to go in the oven (these ones are really kinda too close together; see below).

Use the thickest cookie sheets you can find, but scorn “air-insulated” sheets. I’ve never been satisfied with their performance. Light cookie sheets will cook the cookies a little slower, dark sheets a little faster. If you put two sheets in the oven at the same time, the one on the bottom will get it’s cookie bottoms cooked faster, and the one on the top will get it cookie tops cooked faster. You really need to switch them half-way through, or else half of your cookies will be burned on the bottom, and the other half burned on the top. I check them after about 7 minutes, but they can take up to 11 minutes or maybe possibly more.
My camera kept lying, lying, lying about the colors. On one setting, it took so much color out of everything it was bordering on grayscale. On another set, I got a lot of color—almost too much, really. So then I tried to get the right color in Paintshop, and I’m still not sure it’s right. So, here’s a verbal description of when the cookies are done. Don’t cook the cookies until they are evenly brown, from rim to center. That’s overbaking, and they will hard, hard, hard and very crunchy. Maybe even burnt on the bottom. You want a rim around the edges that’s a dark brown (it basically reflects the color of the bottom of the cookie), but the center should only be a very pale golden color, and still look soft. It will firm up slightly after it cools. If you eat them as the come out of the oven, pretty soon you can get a good idea of which ones came out perfect, and which ones were only almost perfect.
This is what the bottom should look like:
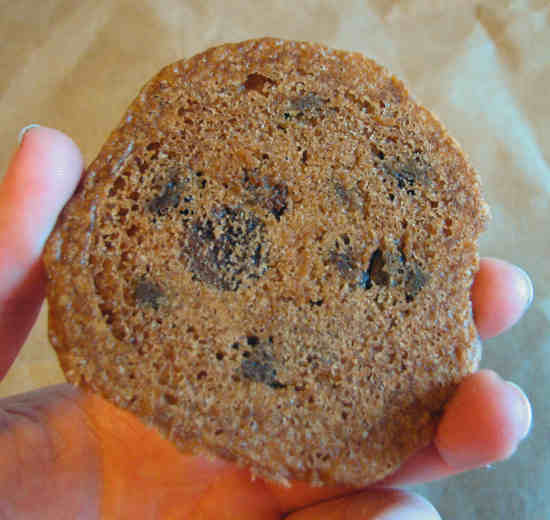
This is a cookie sheet with cookies properly placed.

This is a cookie sheet with cookies place as close as they possibly can without merging into one big cookie (which would be a bad idea, because then you wouldn’t get the crispy-crunchy edges). You should really only do this if you’re baking 200 cookies and supper is waiting on it’s chance in the oven.
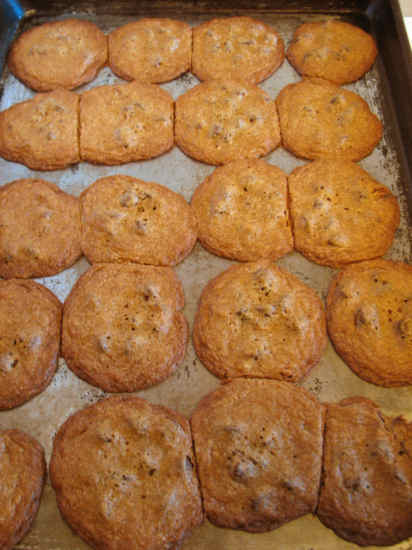
Let them cool for a minute or two, and then scrape them off the tray and onto brown paper. (I cut open a paper grocery bag, so it lays flat.)
Cookies in all their perfection.


Posted in Recipes | 3 Comments »